Showing posts with label decorate. Show all posts

April 18, 2013

{un}crafty - no sew fabric strip garland.

here we go: another super easy, no skill required, fun little craft for you!

i made this fabric garland to hang in our toy room 
{this is a live action shot from a sick day at our house - "Dolphin Tale" anyone?}

its fun, festive, and so easy to make.


supplies you need:

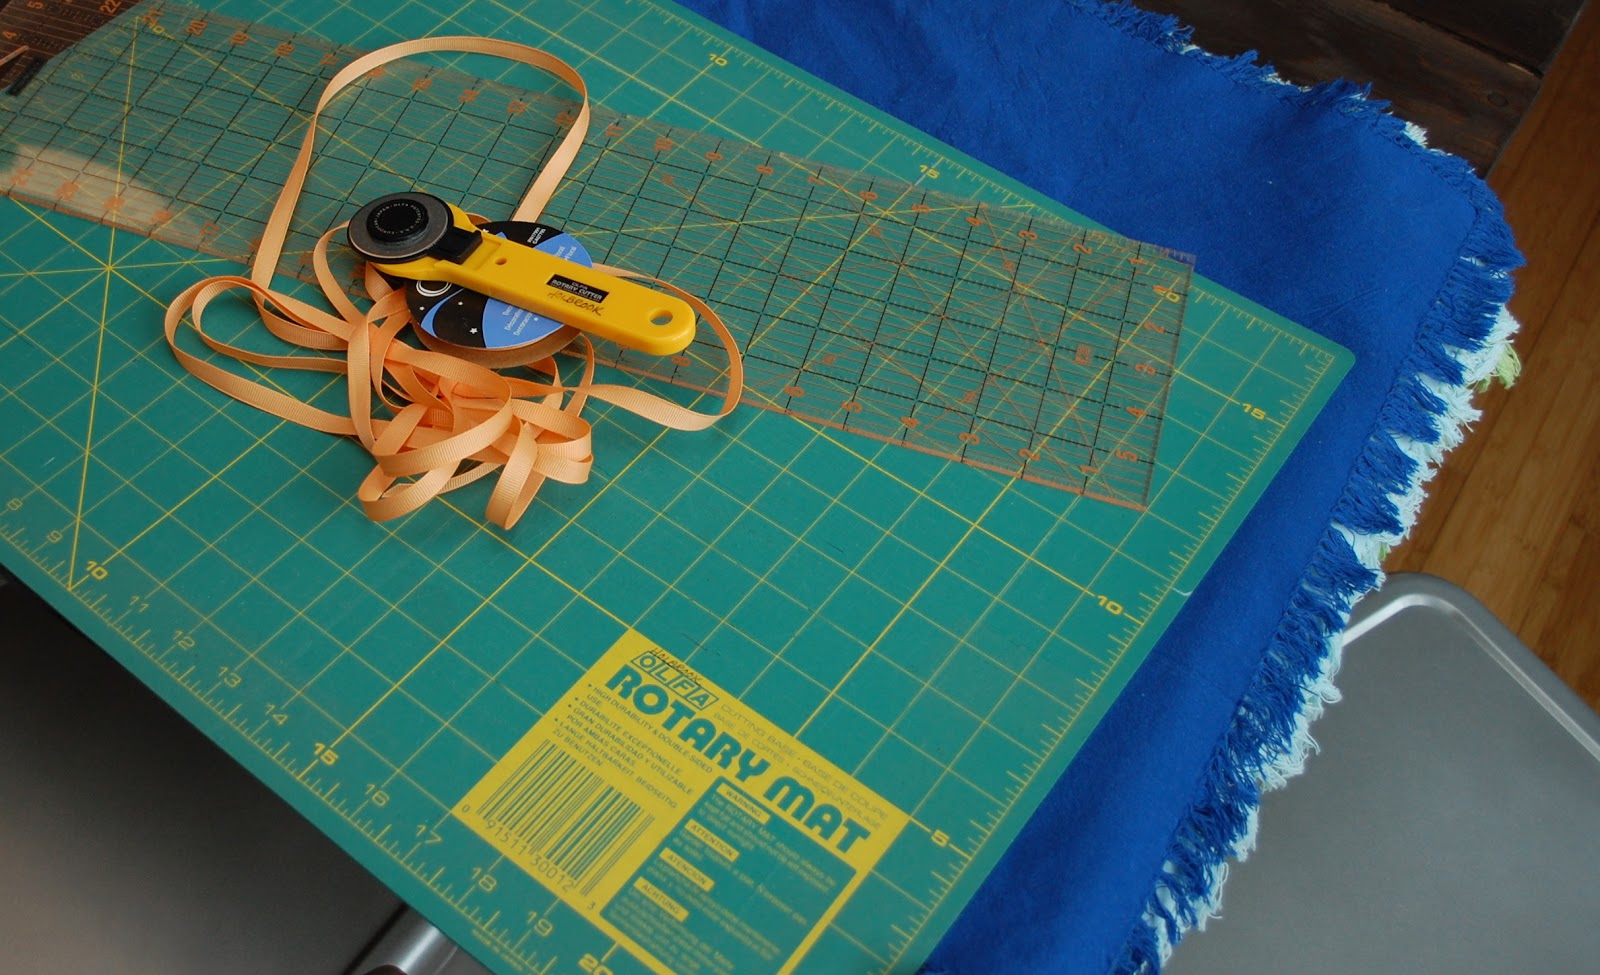
rotary cutter & cutting mat {or just a plain old scissors!}

ruler

fabric scraps {anything will do}

ribbon

i had some cloth napkins in bright colors that were screaming for a re-purpose, so i finally decided to do this craft.  i followed some advice from Joy's Hope blog to get me started.

i started by ironing out the napkins.  then i used a rotary cutter and mat to measure and cut.  i measured 1x18 inch strips and cut accordingly.  it was a lot of cutting!  i think the strips could be longer if your fabric allows - my tassels ended up being pretty short once they were tied on.

i lined up all the fabric strips and got out my ribbon.  
i followed a pattern, but random would be really cute, too!

to tie the strips onto/around your ribbon, i followed the steps shown above.  
kind-of a loop, more than a traditional tie.

i just kept going until i had a length long enough for the wall i intended the garland to hang on.  i used command strips to hold the banner up and we like it!

i'm thinking of making another for my living room using an old tablecloth, some burlap, and ribbon...

happy {un}crafting!


April 16, 2013

{un}crafty - faux metal letters.

of course we have all seen anthropolgie's metal letters that are awesome.  but i was looking for a cheaper way to make metal letters in my boys' room.  i had previously covered letters in scrapbook paper for my oldest son's room in our other house.  but i wanted something more modern and more boyish for this room.  so, i set out to fine a way...


forgive me, but i found this idea somewhere online.  i have no idea where.  if you google "faux metal painted letters" you will find a million tutorials.

just a reminder: the crafts you find here don't require any artistic skill or crazy tools to complete.  just a little patience and some post-bedtime minutes {and a glass of wine...ok that's up to you}.


supplies you need:

paper mache/cardboard letters {joann's has sales or use a coupon}

black craft paint

silver craft paint

foam brush


 paint your letters black and let them dry.

then brush silver over the black running your foam brush in all directions.  you can't even mess it up, just brush like crazy with the silver paint until you have covered all the black.

this whole project took only a part of one evening for me.  i had 12 letters to paint and it was super quick.  one coat of black, then by the time i was done with all 12 letters, the first were ready for a crazy coat of silver.  i hung them up using 3M command velcro strips - easy!

your letters will look like galvanized steel.  voila.

happy {un}crafting!


April 15, 2013

the boys' room.

aka {the fraternity}.
aka {where the wild things are}.

i gave you a tour of the nursery, so here's a little look into the boys room.  i'm proud of the boys' room and its been a long work-in-progress.  i've been adding to the room for over a year and i still don't feel like its quiet to the finish line.  but sometimes tweaking over time is the best method for me...i have to try things out and then decide how to change them up.

of course there is a pennant on the door...obsessed, i tell you.

now, this room was inspired by a layout in the Land of Nod catalog.  in fact, we had some paint color matched to a Mythic paint sample we ordered from Land of Nod.  then i found sheets, comforters, throw blankets {at Target, of course!} to mimic some of the colors and layering from the catalog.

my super crafty mom made the chevron valances for us.  just like in eden's room.
my dad even got in on the project.  
parents rock.

this dresser is from the nursery at our old house and i finally changed out the knobs.  of course, now i wish i did different knobs, but these will do.  pretty sure the boys do.not.care.  inside the drawers are always a disaster.  truth.

the shelves hold some special things that don't have another home right now.  this whole wall is so-so...it looks ok, but i'd like to add more interest...
the locker bins hold lots of junk!  usually if the boys have something that we don't want little sister to get or if they get a trinket somewhere, i tell them they can keep it in their bin.  then, periodically we have to go through the bin and decide what to keep and what to throw out.

i recently made this art out of paint chips.  i originally wanted photos in these frames, but i didn't have the right size on hand.  i decided something that i don't need to update or switch out would be good in these frames.  so...i cut up paint chips and pasted them onto cardstock and framed them.  easy. 

this is my favorite corner of the room.  we don't use the chair a lot and it takes up a lot of space, but there isn't another place in our house for it right now.  at bedtime if the boys ask us to sit in their room for a few minutes, or if we are telling a story, we will use the chair.  maybe it won't be in there forever.  the bookshelf was made by my grandpa and my dad and then assembled and stained by my dad.  its great!

more pennant, a world map, and their names.

my sneaky helper.

we really lucked out on these Room & Board bunks we found on craigslist!  the storage drawers underneath are a life saver and the quality is awesome.  the boys love them.  of course, bunk beds are not easy to make - the sheets and blankets are a pain.  {here's a realistic approach to making bunks} but we are easy going about that - making beds isn't a priority around here...yet.  also, i don't think bunk beds are a "forever" solution.  when the boys are big they are probably not going to want to be bunked.

the final little corner of the room.  their chalkboards/corkboards.

props to my husband who has to do lots of the dirty work when it comes to re-doing any room.  we did the majority of this makeover in a 48 hour period when i was 5 months pregnant.  enough said.  he did a lot.  the walls and ceiling of this old room were pretty damaged and by the time he was done with joint compound and a sander, they looked brand new.

i'm sure i'll be making small changes in this room...i'll keep you posted.


April 11, 2013

{un}crafty - fabric flower pom poms.

every craft you see her is do-able by everybody.  no skill or special tool needed {just patience and a little me-time}.  this is the tutorial i followed to make the pom poms in my sweet little daughter's room.


i call it a nursery, but i hope she loves the room for a long time!  after my best friend, mollie, and i completed these poms poms {long hours and late nights pre-baby!}, i joked that eden has to have these somewhere at her wedding.  kidding-not-kidding.


supplies you need:

paper lanterns, styrofoam balls, or anything else that you want to use for your pom pom {consider size and shape when you choose your object}

fabric {iron our your fabric - doesn't have to be perfect}

scissors

circle pattern {trace a circle on a cereal box or piece of cardstock}

pencil

hot glue gun 

iron

use your circle pattern, trace with a pencil, cut out with a scissors...just keep going.


then glue those circle to the lantern over and over again until you get the finished product!

mine were originally paper lanterns with a wire in the top, so i tied ribbons on and hung them from hooks in the ceiling.

happy {un}crafting!

*photo credits: mollybaileyphotography.com

April 10, 2013

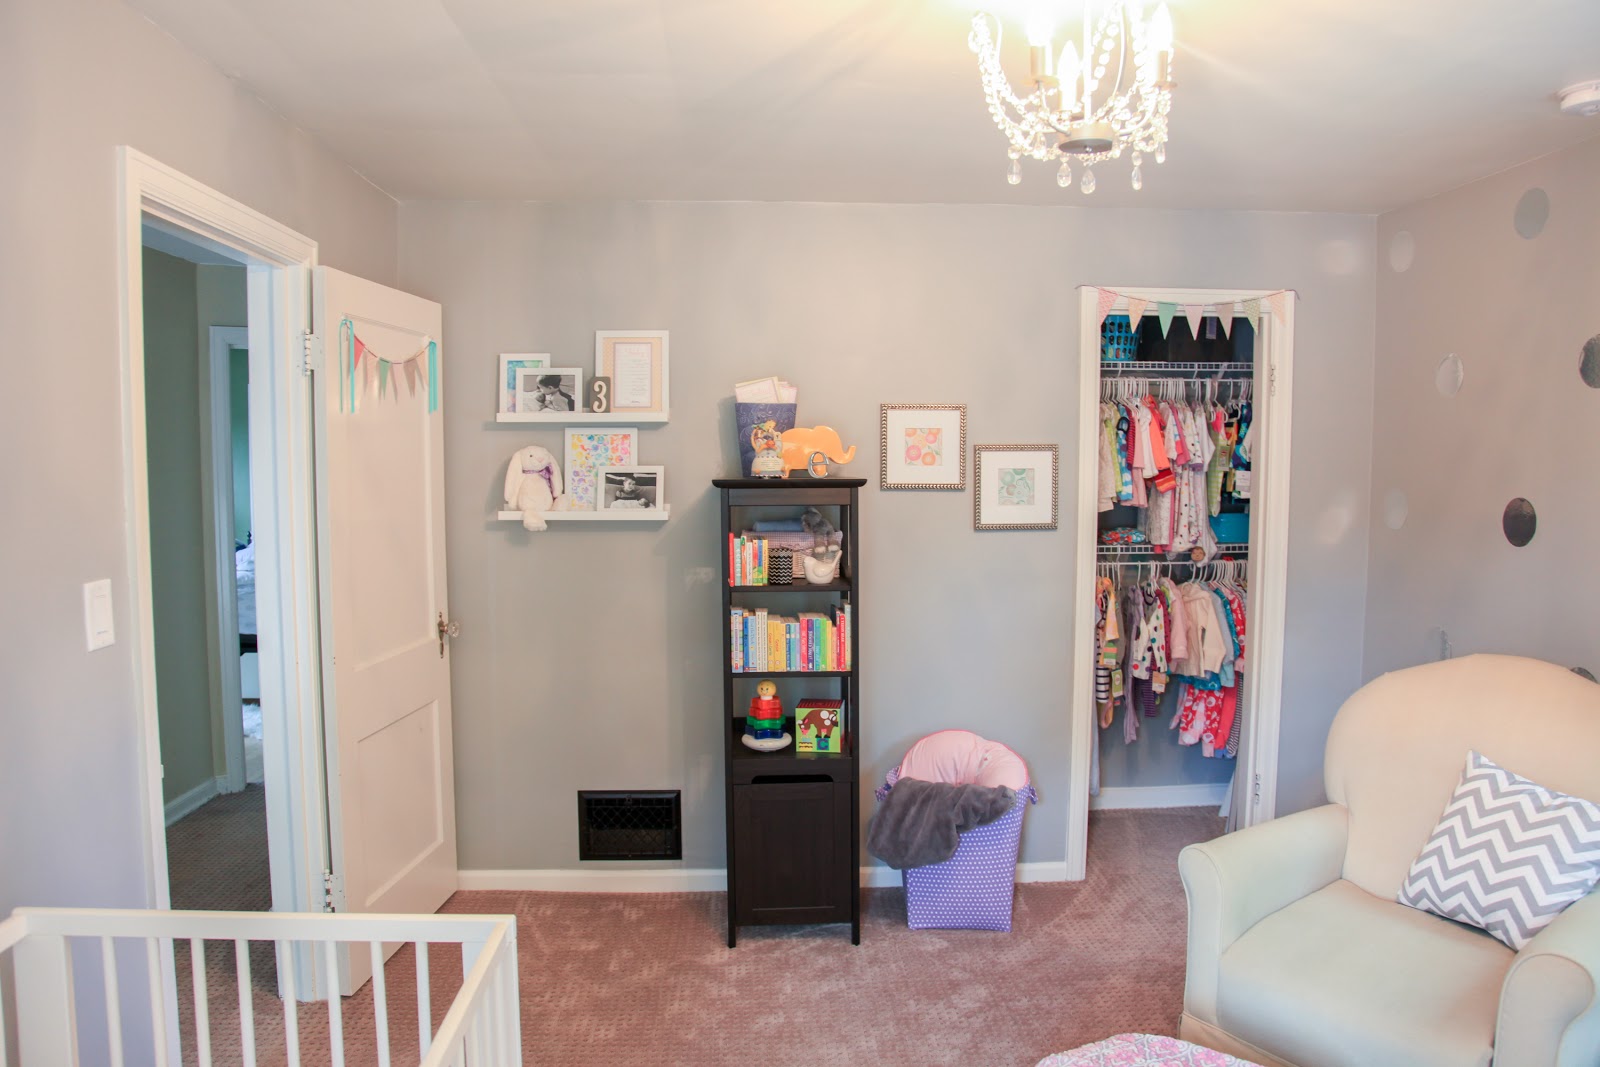
eden's baby girl nursery.

its one year later, but i'm sharing the nursery we decorated for eden.  happily, one year later, i still like it and i think eden does, too.  part of my vision for the nursery was something that would still look good when she is no longer a baby.  i also wanted something not-too-girly, but i'm not sure that was accomplished.  its pretty girly, glitzy, and a little glam.


i guess i really love pennant/banners because i have them everywhere in her room!  i got a big block of scrapbooking paper from Michael's and made a template for a pennant shape i liked out of cardboard.  then i traced the shape onto all different patterns of paper.  i cut them out with a pinking scissors, punched little holes and just used yarn from wal-mart to string them together.  adding some little ribbons on the end is a cute little detail.

above eden's ikea crib {which we have really loved}, i hung her glitter letters from rose mille from another banner with more pennants.  we hung some knobs from anthropologie to tie the yarn onto.  then i did a big bunch of ribbons from each.  pretty.  

i took a thrift store frame and spray painted it and added chicken wire.  we can hang cards or hair clips.  i made the canvases by covering some old art with fabric and cutting out paper, then glueing it to the fabric in the shape of a peacock and the eiffel tower.  classy, right?  easy.  the biggest project {one of them} were the pom poms.  they took forever.  and ever.  

lucky for me, i have awesome friends who helped me complete these.  my sister found the tutorial and i knew i wanted to make them for eden's room, but i didn't think through how {totally} huge they were going to be!  i found paper lanterns for cheap that were bigger than i wanted, but i thought that would be ok.  then i bought some cotton broadcloth from a textiles outlet, cut {about a million} circles out of it, hot glued them to the lanterns - voila!  giant poms.  i like them and they look good in her room, but i would opt for small styrofoam balls next time.

one of my favorite parts of her room are her little ikea shelves that hang behind her door.  they are full of special things: art by her brothers, photos, special keepsakes - even a card of "wishes for baby" that i framed from her baby shower {baby shower post with photos coming sometime soon!}.

eden's room is fun and special.  the boys have a fun and special room, too {which has been a loooong work-in-progress} and i will share that soon.  its fun to make the nursery a place that both you and your child will love {mamas spend a lot of time in there!}.


for a more details list of sources for items in this room, email me :
jilleiselt@gmail.com

December 8, 2011

Its looking like Christmas...

Its beginning to look like Christmas in this house!  I am more excited than usual about decorating for Christmas because in this new house, we haven't had a lot of decoration going on.  Christmas was a great kick-start to getting out some of our decor and making the house feel festive and homey.

One of my favorite features of this old house is the buffet, or piano windows.  I made this pom pom garland with my friends, Mollie this fall.  It was an easy but time consuming project.  I will post a tutorial later!  I got the "Joy" letters at a country store in Northern Minnesota, but I've seen them all over since.  The mercury glass holders are a combination of Michaels, Target, and Crate & Barrel.

In the dining room, I created a display with items I dug out of boxes, etc:

My sister gave me the small apothecary jars and I filled them with whatever I had that was festive.  I also taped red ribbon to the topiary pots (I pulled the stem out of the topiaries for a new look).

I added my subway art for some height and for now, I like the look!

A little sparkly garland goes a long way to help make some ordinary look fun and seasonal!  We remind ourselves to look for "Zippy", our Elf on the Shelf.

 I love this colorful tree behind the kitchen sink and the little pots I just tied a ribbon and put some holly in the tie.
 Where is Zippy anyway?

This is our entryway for now...I had fun decorating and putting the boys' stocking up.  Where to put stockings without a fireplace?

The Christmas Countdown has been working beautifully...

the boys love running to the bin of wrapped books to open their books for the day!

How is your decor coming along?  Its a process...adding little bits along the way.  Holiday cards we receive and the kids artwork is another great way to add to any holiday decor!


November 14, 2011

Updates

Since moving in early October, we've been slowly working on making this house ours.  Unfortunately, most of the work we've done can't be seen: shelves in closets, cleaning out storage spaces, etc.  Last weekend, with a forecast for one more warm(ish) weekend in Wisconsin, we painted the front door and shutters black (to forego the faded maroon from the previous owner).  We are loving the crisp, stately look of our new front door color and feel like its one of the first things that makes our mark on this house as ours.  Also gone are the overgrown window boxes which we chose to skip altogether.  Landscaping will be an ongoing project that won't begin until next summer...the work is just beginning!

September 16, 2011

Barely There Summer Decor

Summer was such a whirlwind that I didn't do as much summer decor as I would have liked.  Pretty much the only existence of anything summery was on the mantle downstairs.  I had hoped to make an easy little pennant to hang from the mantle, too, but with house showings - all projects came to a stop.

My sister gave me these little apothecary jars that she found somewhere online.  
They are perfect for this space because they are short and don't block the viewing.

The trick is finding something small enough to fit in the jars.  My mom traveled to Bali with my dad for work and brought back the white coral she found on the beach so I took some small pieces of that and filled one jar.  The beach glass I found at the Dollar Tree (yes, for $1!) in the decor section.  It added just a little color and was easy to fit in the smallest jar.

I also had some sand that I got with a merchandise credit at Pier 1 and filled the third jar with that.  The little vase is from IKEA but was not bought for this, just thought it looked "beachy" enough to join the ensemble.  I also added the little mercury glass votive holders because I liked the shiny addition to the mantle.

So there it is: the compilation of my barely there summer decor...exciting right?  Maybe not.  Oh well.  I'm actually more excited to use those jars this fall and see what we can fill them with...